Mom Life
How to Make Homemade Baby Food
October 2018
I didn’t consistently make my sons food for a while. In the beginning I used mostly jarred baby food and added my own food (things like bananas, avocado, sweet potato, etc.) when I could, but my ultimate goal was to make all of his food homemade. I’ll be honest, the thought of making my own baby food overwhelmed me! I’m a fitness professional and a huge fan of a whole food healthy diet but I just couldn’t wrap my head around finding time to make it when some days I didn’t even have time to feed myself. I admit, I got caught up in the overwhelm of mom life and let it get the best of me. Once I read this article about a recent study of the high amount of heavy metals in baby food, I decided to get it together and start making all of his food! Now, this is not to say that you are doing anything wrong by giving your baby jarred food (I did!), because you aren’t and it’s totally based on your preference. I share this article for awareness. 
Making homemade baby food takes time but I actually found it wasn’t as hard or overwhelming as I thought and once I got my husband on board with it, we made it a fun “date night” baby food prepping! If your significant other can help you out, I highly recommend it!
Now on to the good stuff…..
I’m going to show you step by step how we made a bunch of different food combinations from a variety of vegetables, healthy carbs, fruit, and protein. These combinations are for when you are ready to give your little one a variety of food combinations (foods that they have already had). If you are just starting out, you will want to make single ingredient foods so you can give your baby one at time to make sure there are no allergies so save this post for the future when you are ready to mix up your baby’s food.
Step 1 – Grocery Shopping!
We bought everything organic (which is totally up to you!), here is our list:
- 1 lb Ground Turkey
- 1 lb Ground Beef
- 2 Squash
- 1 Zucchini
- 3 Corn on the Cob
- 1 Potato
- 1 bag of Spinach
- 2 Sweet Potatoes
- 1 bunch of Asparagus
- 1 big bag of whole Carrots
- Frozen bag of blueberries, raspberries, and strawberries (or whatever combo of fruit you like)
And now you are armed with all your healthy ingredients so it’s time to get cooking!
Step 2 – Prep
This is where most of the work comes in so grab your pots, pans, peeler, and cutting knife and let’s begin! Feel free to do these in the order that’s easiest for you. My husband and I were just running around the kitchen to get everything prepared and cooked!
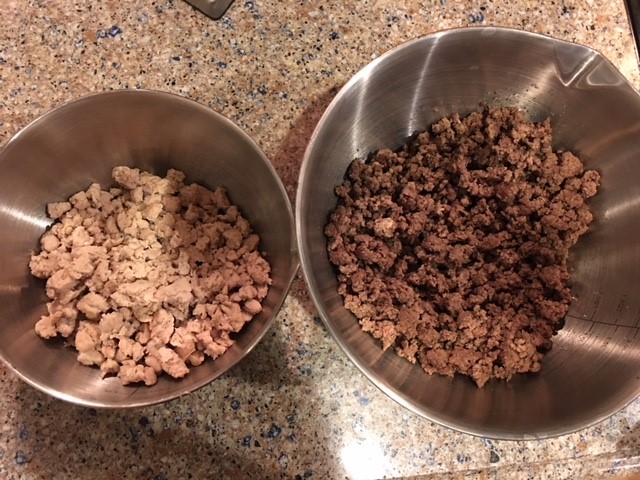
- Fully cook ground beef and ground turkey in separate frying pans (cook plain without any oils)
- Wash the sweet potatoes, poke holes with a fork, cover with a wet paper towel, and steam in microwave for 4-6 minutes depending on the size. Once it’s done, wrap in aluminum foil to finish cooking and set aside until ready to make a puree. If you don’t want to microwave them, you can wash & peel the skin, cut into chunks, and boil them until soft. Totally up to you! We used the microwave, scooped out the inside, and didn’t use the skin when making the purees.
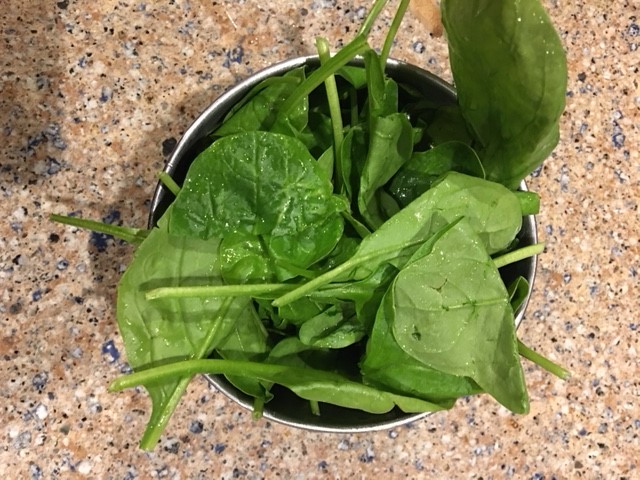
- Thoroughly wash and dry the spinach. Set aside.
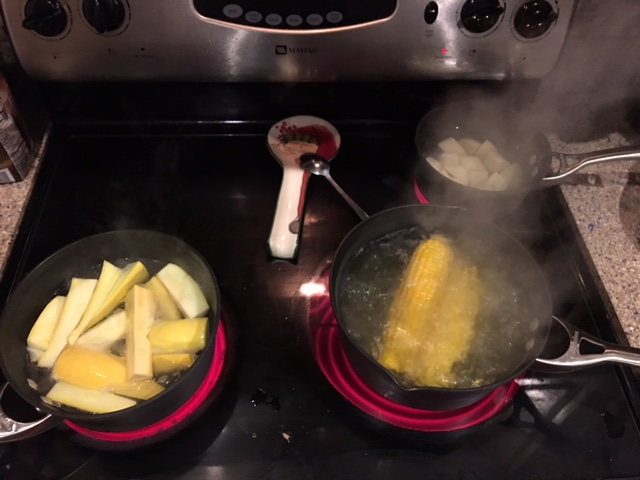
- Wash, peel, and cut potatoes into quarters. Place in boiling water until soft.
- Peel the corn on the cob and place in boiling water until cooked.
- Wash and cut the squash and zucchini into quarters and place in a pot of boiling water until soft.
- Peel carrots, chop off the ends, and cut into smaller pieces. Either place in a (microwave safe) dish with water and cook in the microwave until soft (time will vary based on your microwave and size of carrots) or place in boiling water and cook until soft.
- Wash and steam the asparagus until soft.
Step 3 – Puree!
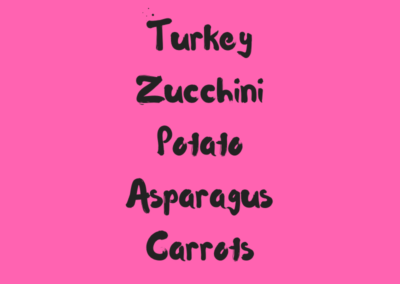
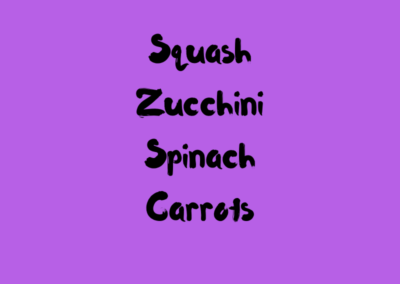
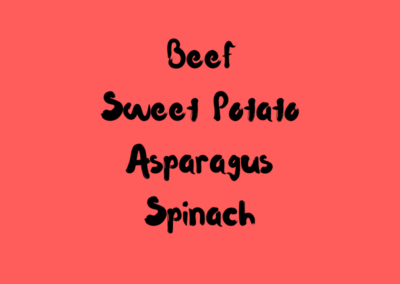
Now it’s time for the fun part…to make all the yummy combos you want! There really isn’t a right or wrong way to do this. I list out some of the different combos we made but feel free to create your own and make it fun. For the frozen fruit, we just pureed it with water to store in ice cube trays but feel free to add in some fruit to any of the combos for a touch of sweetness.
To speed the pureeing process up, we had two blenders going (our Ninja and our food processor) Depending on what age your baby is and your comfort level, you can make the purees smooth or chunky. So many options!
Step 4 – Store & Label Them
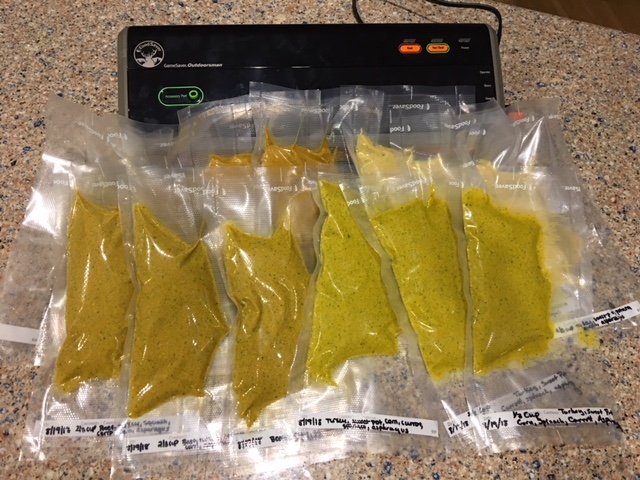
Once you have all your purees in different containers, it’s time to make them last for as long as possible so make some room in your freezer. There are many different ways to store them in the freezer, many people love to use ice cube trays to freeze them and then transfer to airtight containers so if you have trays and containers then that’s a great option. We have a Foodsaver and I LOVE it! It’s perfect for sealing up individual pouches of baby food and it keeps it fresh. Another option is to use breastmilk storage bags that come with your pump, they are meant for freezing milk so why not use any extras you have for freezing food! Be sure to label each pouch with the food content and put a date on it. From my research, it’s best to use the frozen baby food within 3 months (double check to make sure!). Our little guy has quite the appetite so we went through our first batch in a month! I’m seeing LOTS of dollar signs for our future grocery bills.
Step 5 – Defrost and Enjoy!
I usually take out a pouch or two (depending on the size of it) the night before and place it in the refrigerator to defrost overnight. I don’t like to leave it sitting in the fridge for more than 2 days. I found this article helpful for safety tips on storing and defrosting your baby’s food.
I hope you find this post helpful as you set out on your baby food making adventure! I’m not an expert, I’m just a mom sharing my experiences so if you aren’t sure about what or when you should feed your baby certain foods, always check with your pediatrician first.
One of the best feelings as a Mom is to watch my little guy devour the food I’ve made for him because it was made with SO much love.
Contact Sweat the Stress for your own online personal trainer and accountability partner!

